In today’s article, we are going to deploy Argo CD using Helm, complete with proper SSL and ingress configurations.
Prerequisites
Before starting, ensure you have the following:
a) A Kubernetes Cluster
You need a Kubernetes cluster with proper access to it. I am using a managed Kubernetes cluster provided by DigitalOcean.
b) Helm Installed
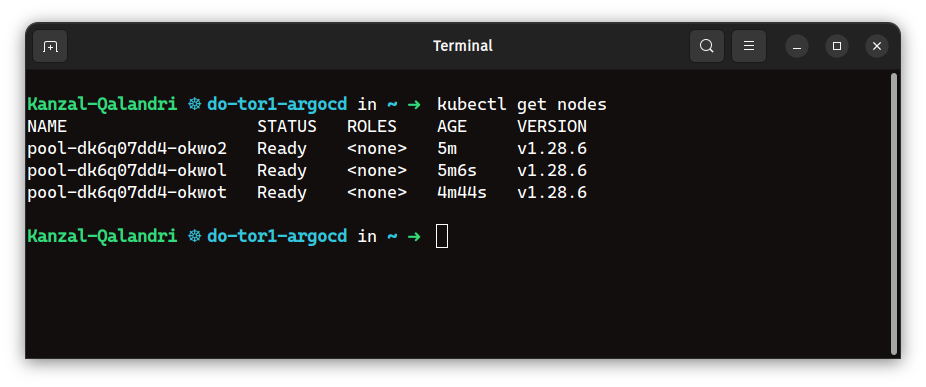
You need Helm installed on your machine to create resources on the Kubernetes cluster. Ensure the config file of the cluster is present inside ~/.kube/config. You can check if Helm is installed on your machine by running this command:
helm version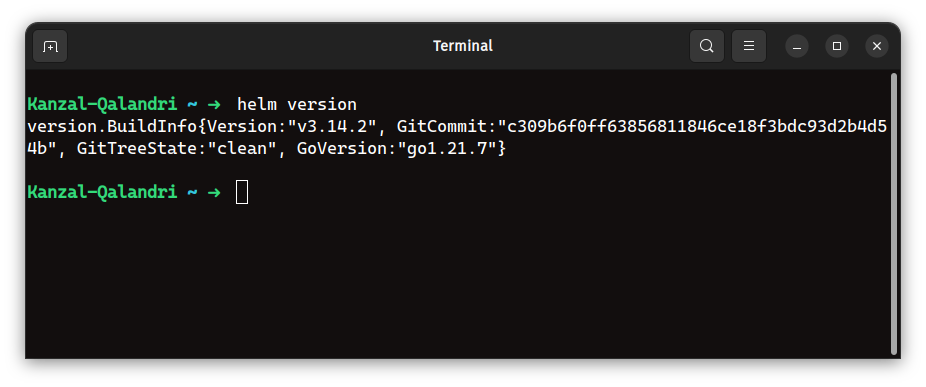
As you can see, I am using version v3.14.2 of Helm.
c) A Registered Domain or Subdomain
You need a domain or subdomain to expose Argo CD on the web. I am using the subdomain argocd.kanzal.com. Additionally, you need to update the DNS records for your domain.
d) An SSL Certificate for Your Domain
We need an SSL certificate to secure Argo CD. For this tutorial, I am using a free SSL certificate from Let’s Encrypt. I am generating the SSL certificate from sslforweb.com, but keep in mind that this is just for this test deployment.
Generally, in production, we use a wildcard certificate from GoDaddy or AWS.
e) An Ingress Controller Installed
We also need an ingress controller deployed in the cluster. This ingress controller deploys a load balancer where we will point our domain. In my setup, I am using the Nginx ingress controller from the DigitalOcean marketplace.
1: Creating a TLS Secret
Remember, we have generated an SSL certificate from sslforweb.com. I have downloaded certificate.crt and private.key.
Now, we need to create a TLS secret in the Kubernetes cluster. The name should be exactly argocd-server-tls.
The command to create a TLS secret with kubectl is:
kubectl create secret tls argocd-server-tls --cert=path/to/tls.cert --key=path/to/tls.keyThen, run the command below to check if the secret was created:
kubectl get secrets argocd-server-tls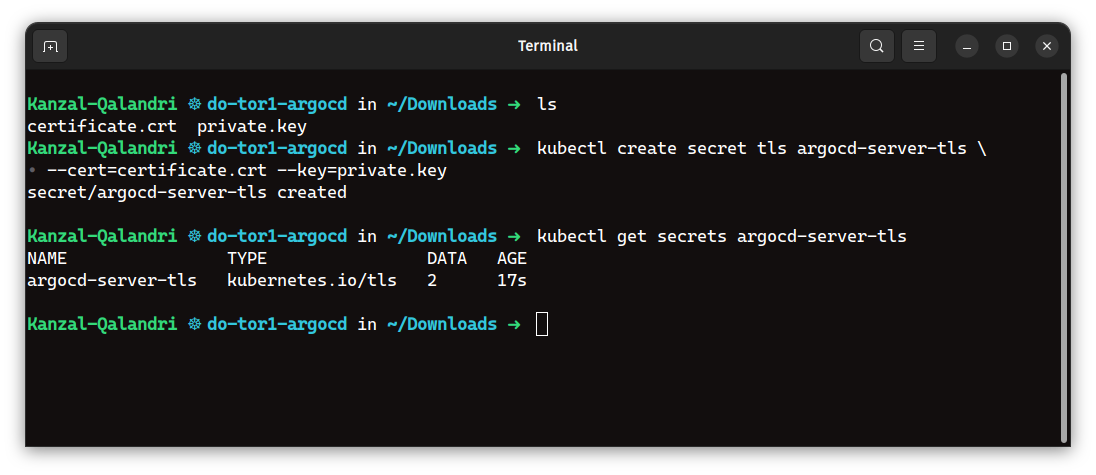
2: Updating the Ingress Controller
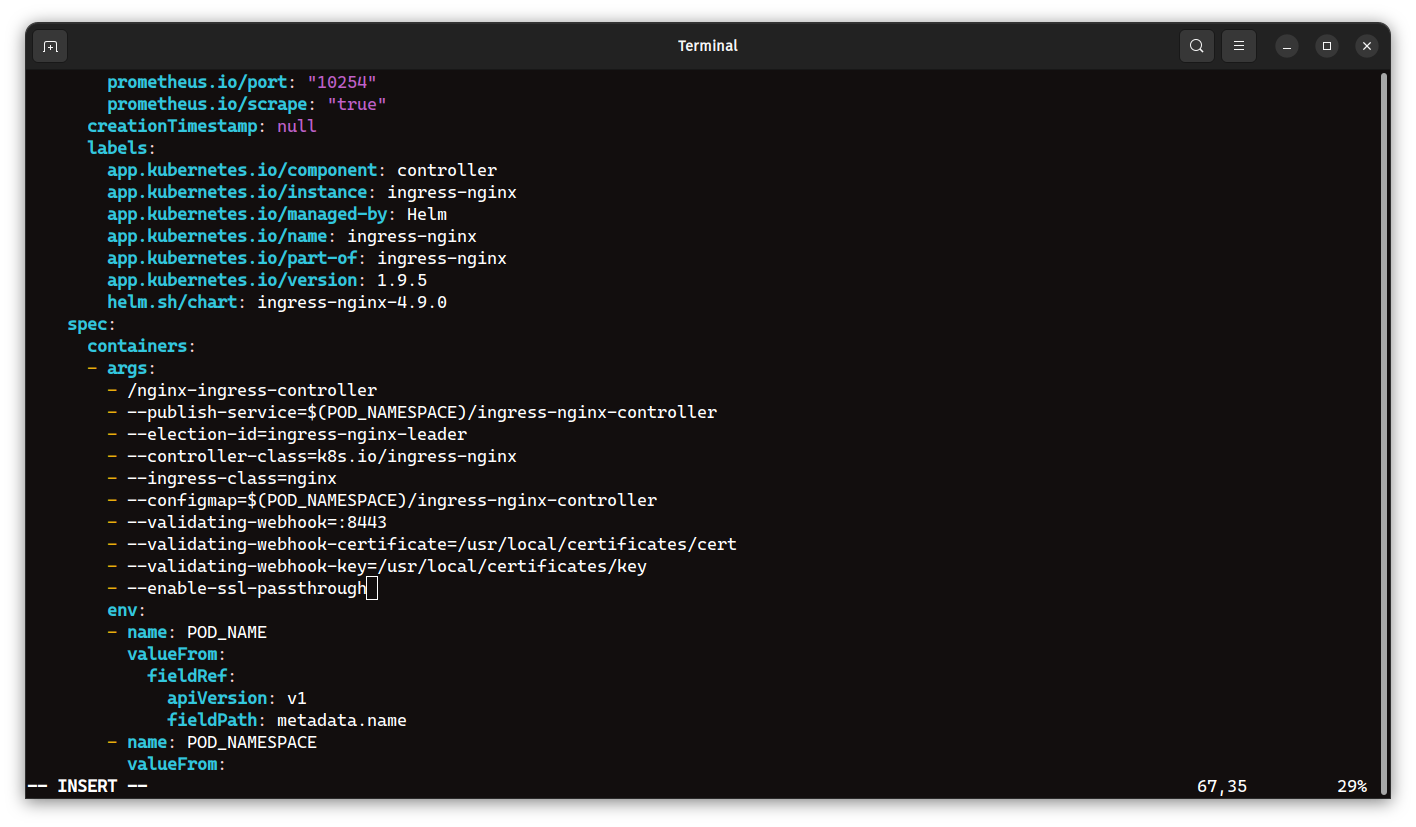
You need to update the arguments of the Ingress controller deployment by adding the --enable-ssl-passthrough command-line argument.
Argo CD uses both gRPC and HTTPS protocols on the same port (443). To expose the Argo CD API server with a single ingress rule and hostname, we use the nginx.ingress.kubernetes.io/ssl-passthrough annotation. This annotation enables passing through TLS connections and terminates TLS at the Argo CD API server.
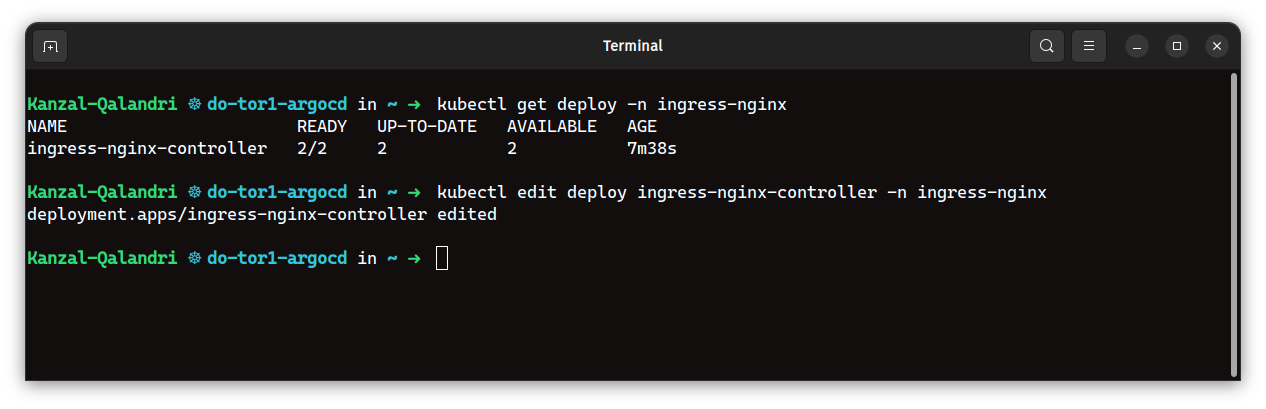
Regardless of the deployment method (Deployment or DaemonSet), you need to check and update the configuration by adding --enable-ssl-passthrough to the container arguments section.
3: Deploying Argo CD with Helm
With preparations complete, it’s time to deploy Argo CD. Start by adding the Argo CD Helm repository and updating it:
helm repo add argo https://argoproj.github.io/argo-helm
helm repo update
Run the following command to deploy Argo CD version 6.6.0 with specific configuration options:
helm upgrade --install argocd argo/argo-cd --version 6.6.0 \
  --set global.domain=argocd.kanzal.com \
  --set server.ingress.enabled=true \
  --set server.ingress.ingressClassName=nginx \
  --set server.ingress.annotations."nginx\.ingress\.kubernetes\.io/force-ssl-redirect"="true" \
  --set server.ingress.annotations."nginx\.ingress\.kubernetes\.io/ssl-passthrough"="true" \
  --set server.ingress.tls=true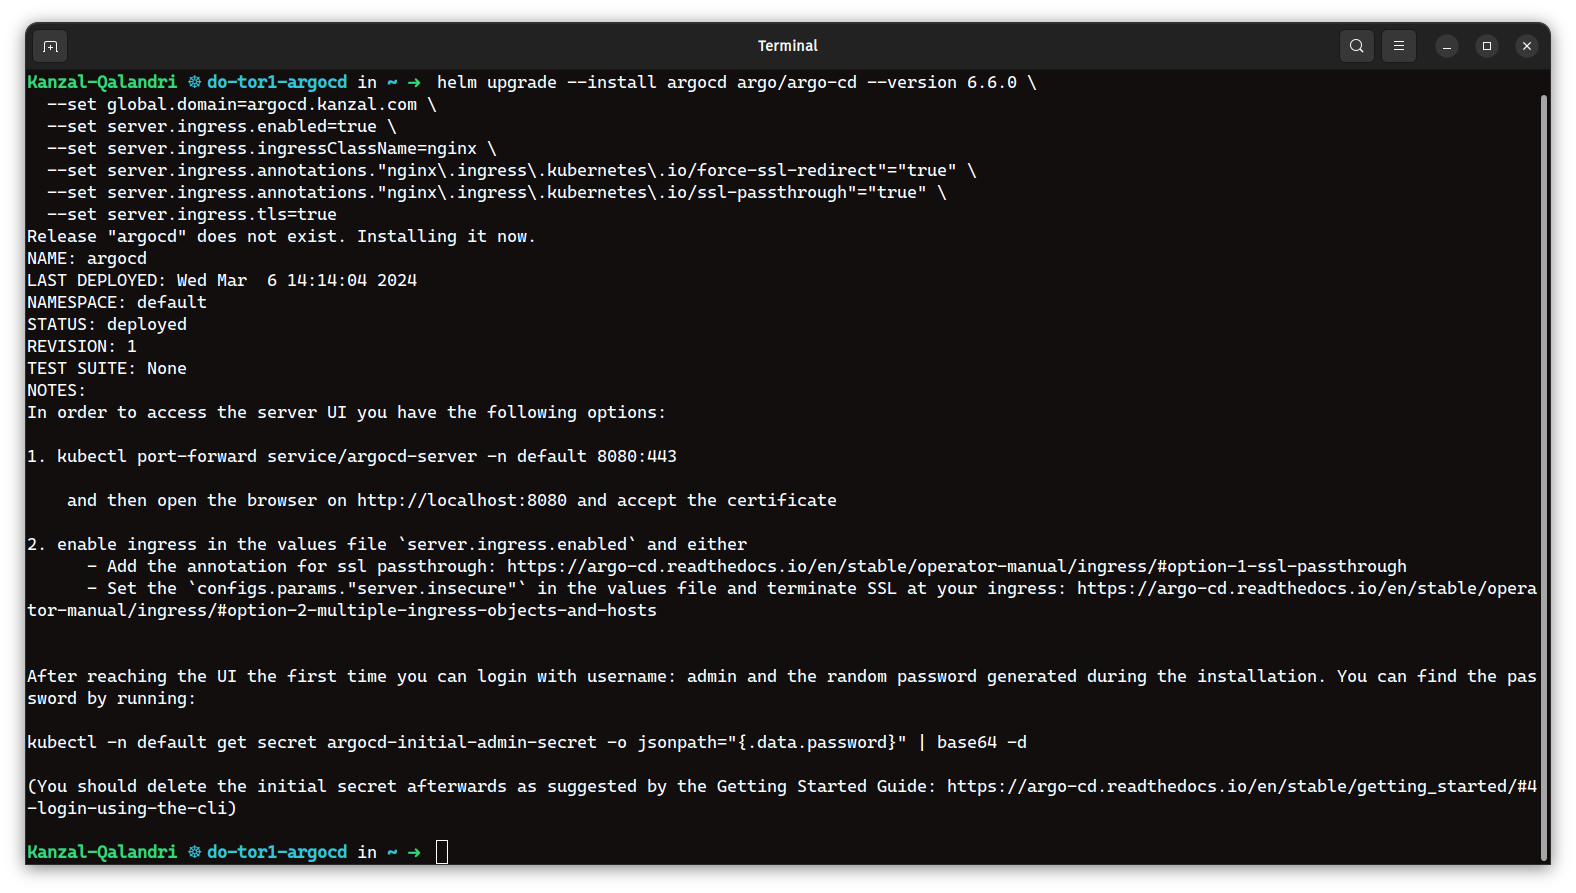
4: Updating DNS Records
Argo CD is now installed, but you won’t be able to access it directly through your browser yet.
a) Obtain the Load Balancer IP
Run the following command to retrieve the Load Balancer IP address:
kubectl get ingress
Look for an ingress resource named argocd-server and copy its address.
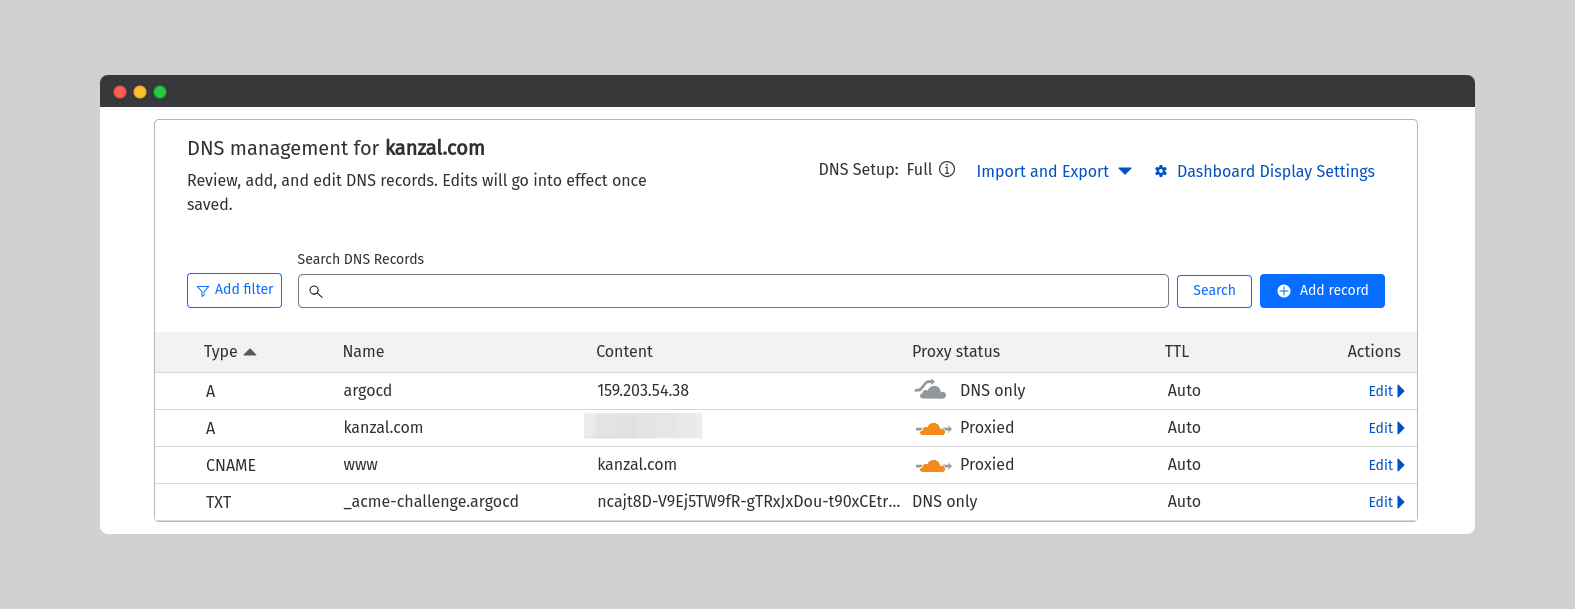
b) Update your Domain’s DNS Record
Log in to your DNS management console and add a new A record:
- Record Type: A record
- Name:
argocd - Value: Paste the copied Load Balancer IP address
5: Verifying the Installation
Now it’s time to verify the deployment. Head to your chosen domain name in your web browser (e.g., argocd.kanzal.com).
You should see Argo CD running and secured with HTTPS.

To log in to Argo CD, you’ll need the initial admin password:
kubectl get secret argocd-initial-admin-secret -o jsonpath="{.data.password}" | base64 -d; echo- Username:
admin - Password: [Output from command]
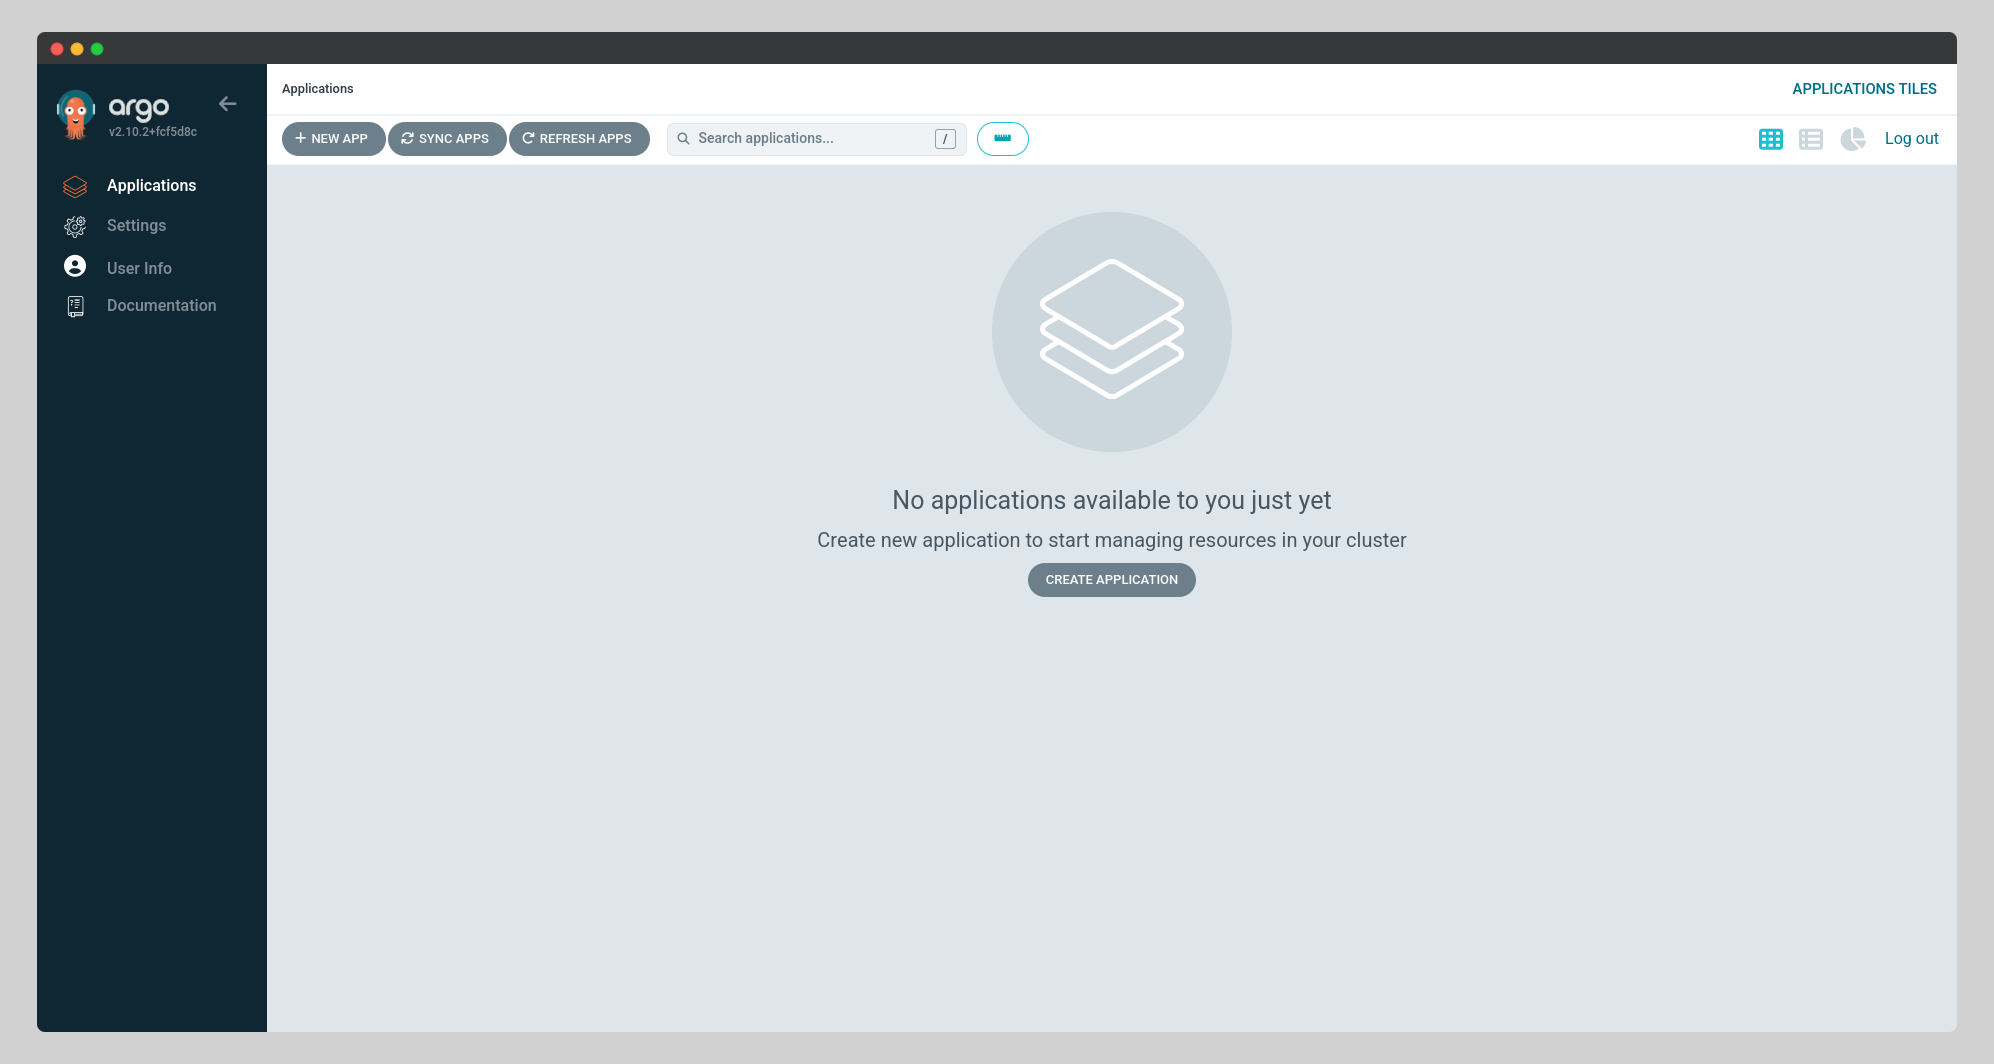
After logging in, you will see the Argo CD interface.
Conclusion
Argo CD is now deployed!
Important Note: This setup isn’t ideal for production environments. In production, you’ll need:
- Trusted SSL certificates: Use cert-manager for automatic renewal.
- High availability (HA): Set up HA mode with autoscaling for better reliability.